Cutting your own hair may seem like a disaster waiting to happen, but with a little experience, you can easily create beautiful looks at home. Furthermore, women’s do-it-yourself haircuts can offer you endless options for different hairstyles while also saving you time and money!
1. Get the Tools
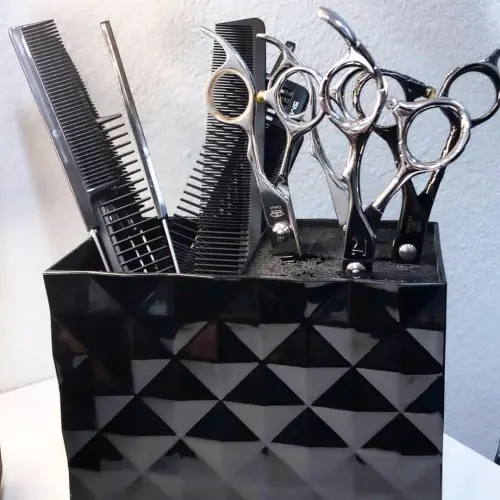
For a successful at-home haircut, having the right tools is essential. Fortunately, you can find most of what you need at your local beauty supply store.
Ensure you have a quality pair of sharp hair scissors for a clean cut without split ends. A fine-tooth comb is indispensable for smoothing out any unruly strands before each snip. Don’t forget a hand-held mirror to check the back of your hair, along with sturdy hair clasps, bobbles, and a water spray to keep your hair damp while trimming.
Consider investing in texturizing shears if you want to add some texture to your hair. And if you’re planning a pixie cut, be sure to have good clippers and a variety of size attachments on hand.
2. Wet Straight Hair, Dry Curly Hair
While many DIY haircut tutorials advise cutting hair when wet, this may not be suitable for all hair types.
For those with straight hair, cutting it when wet can help achieve even, precise cuts. However, curly hair can look significantly different when wet versus dry due to shrinkage, making dry cuts a safer option. If you’re unsure which approach to take, follow the lead of your regular hair stylist.
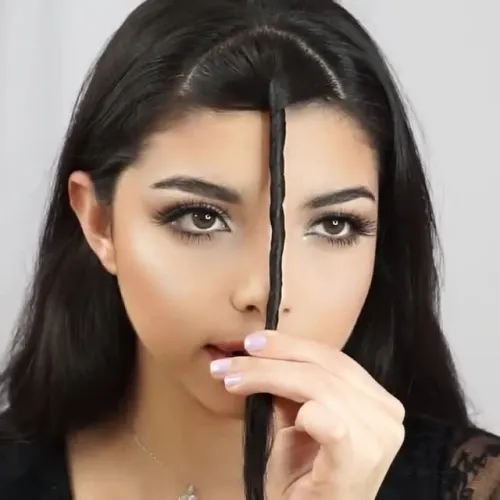
3. Separate Your Hair into Sections
Professional stylists often divide hair into sections to make the cutting process more manageable and ensure symmetry.
Dividing your hair into sections allows for a systematic approach to cutting and helps you evaluate symmetry. Aim for equal sections on both sides of your head to achieve a balanced cut.
4. Aim Longer
When cutting your hair at home, it’s wise to aim slightly longer than your desired length.
Leaving a bit of extra length provides room for error correction and accounts for potential shrinkage, especially if cutting hair while wet. This precaution is particularly important for curly hair, as lengths can vary significantly between wet and dry states.
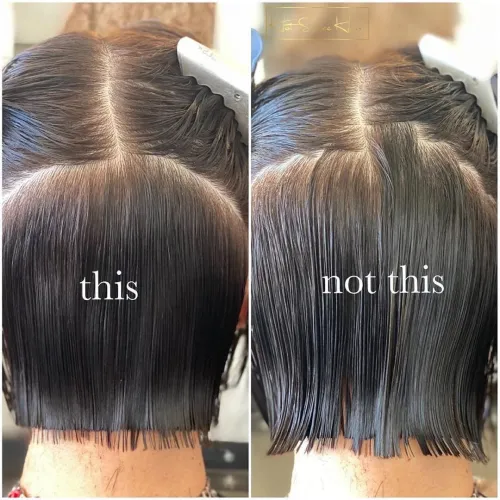
5. Chop Vertically
If your hair looks too dense or blocky after the initial horizontal trim, consider making vertical cuts to lighten the look.
Take small sections of hair, comb through them, hold them between your fingers, and snip upwards with your scissors. Even minor vertical cuts can soften harsh edges and enhance overall texture.
6. Put a Bobble in It

Strategic bobble placement is key to achieving a successful DIY haircut.
For those aiming for layered looks, bobbles are indispensable. Try the ponytail method to create long layers: gather your hair into a ponytail at the front of your head, comb through it, and trim the ends straight across with scissors or clippers. Adding some point-cutting will further enhance the layered effect. This technique works for hair of various lengths, from lobs to long, flowing locks.
7. Twist Hair to Cut Your Own Bangs
Cutting your own bangs doesn’t always require perfect precision. In fact, twisting your hair can help achieve a natural, feathered look.
Gather your bangs in front of your face, twist them into a tight section, and cut a blunt line where you want your bangs to end. Though it may seem intimidating at first, the final result can be stunning on both short and long bangs.
For those feeling adventurous, the twist technique can also be used for a DIY stacked bob haircut. Simply twist the back section of your hair tightly and cut the ends. This will create a graduated effect, with shorter hair at the nape of your neck blending into longer lengths on either side.
8. Go with the Flow of Your Hair
Different hair types require different cutting techniques. If you have afro-textured or curly hair, it’s important to work with the natural flow of your hair rather than against it.
For afro-textured hair, keep it dry and free of products, and trim split ends without stretching the hair. Think of it as trimming a hedge—maintain its natural shape and fullness. For curly hair, consider trying a DIY Deva Cut, which involves cutting each individual curl while it hangs naturally. This technique allows for precise shaping while embracing your hair’s natural texture.
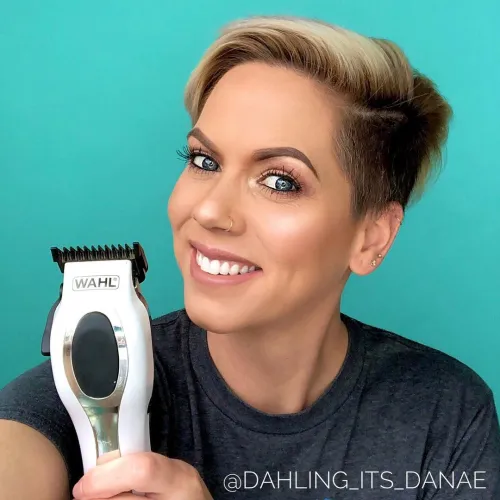
9. Master Cutting Your Own Hair Short
Maintaining a short pixie cut at home is entirely possible with the right tools and technique.
Start by sectioning off the top portion of your hair with a bobble to ensure you don’t cut it too short. Then, use clippers to trim the sides and back, gradually adjusting the length as needed. Once the sides and back are trimmed, release more hair from the top section and trim it to your desired length. Blend the sections together using thinning scissors or enlist the help of a trusted friend for a flawless finish.
10. Create an Undercut
The undercut is a versatile style that’s relatively easy to achieve at home, making it perfect for managing thick hair or maintaining a pixie cut.
To create an undercut, gather the majority of your hair into a bobble, leaving a small section loose at the back of your head. Ensure the line between the tied-up section and the loose hair is straight and symmetrical, then trim the loose hair with scissors before shaving it with clippers.
You can also leave some hair loose over your ears for a more dramatic undercut. If you’re not satisfied with the results, simply wear your hair down until it grows out or try again with a different approach.